Sans Digital Towerraid TR4UTP User Manual
Browse online or download User Manual for RAID controllers Sans Digital Towerraid TR4UTP. Sans Digital Towerraid TR4UTP User`s manual
- Page / 85
- Table of contents
- BOOKMARKS
Summary of Contents
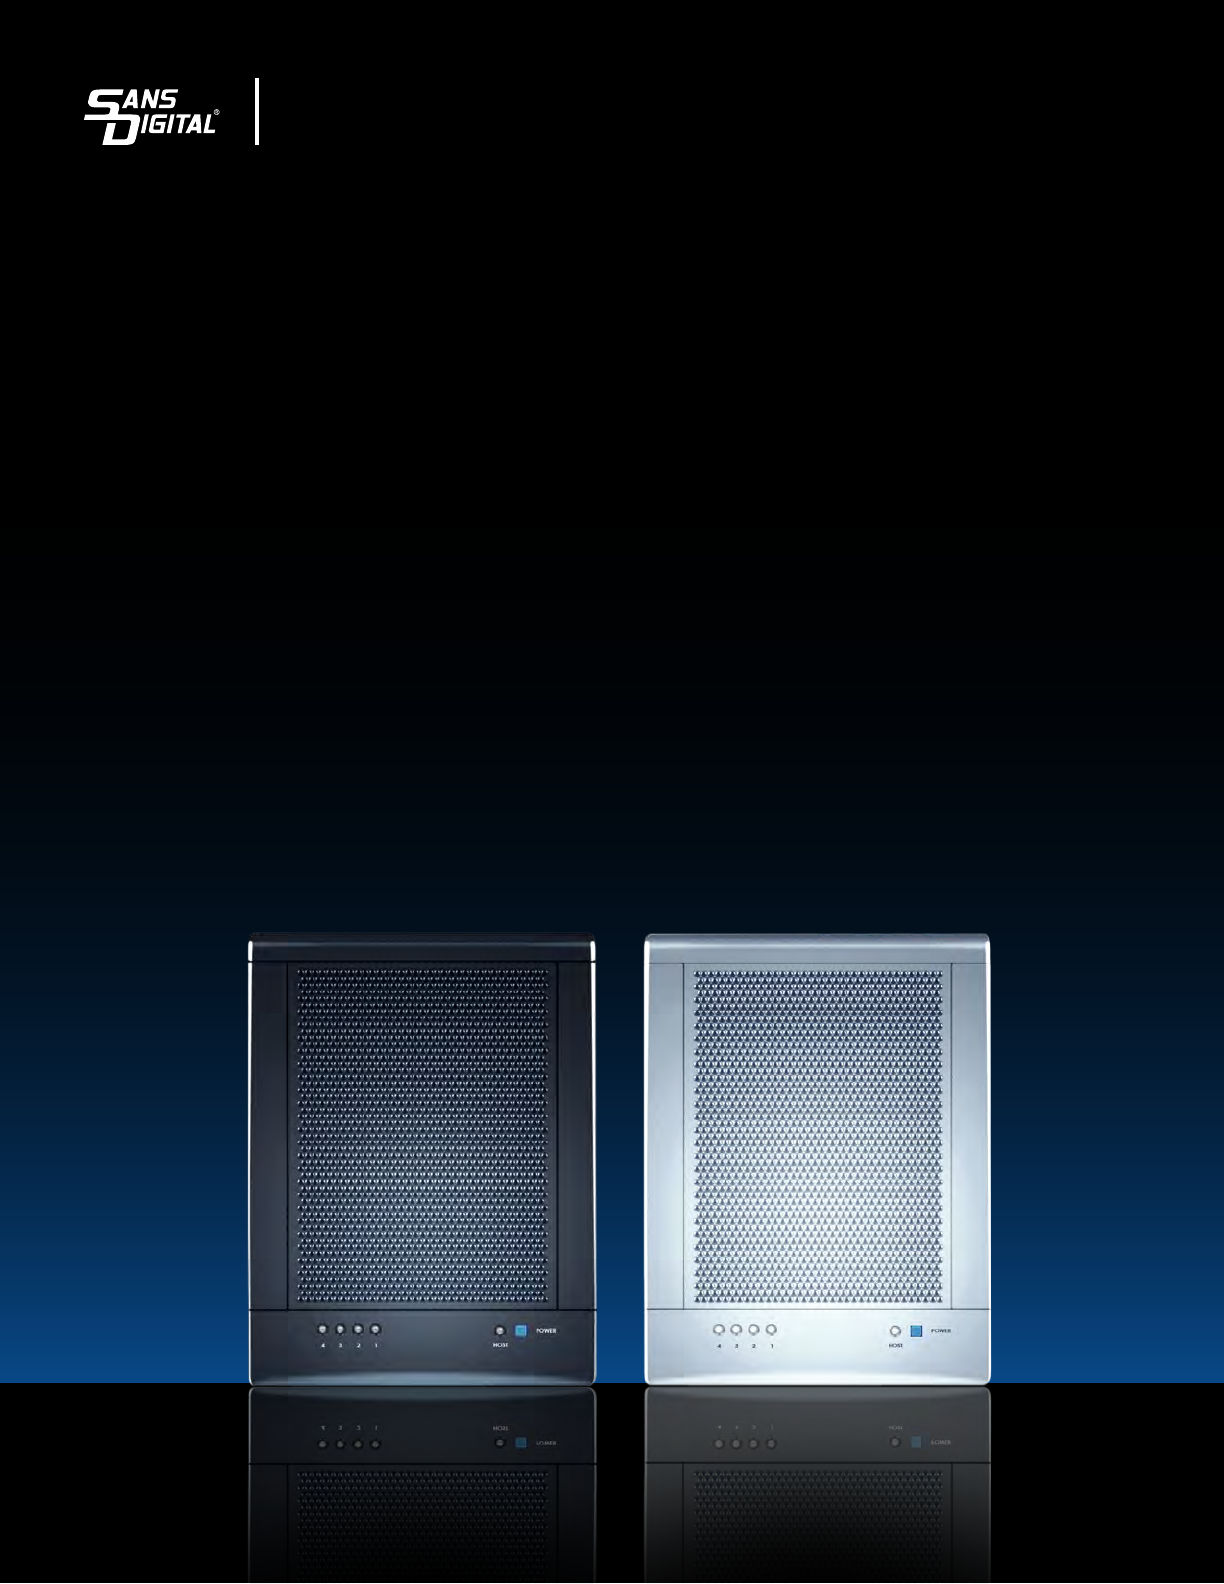
DETAILED USER’S MANUAL v1.0TOWERRAID TR4M-B|TR4M
10Chapter 3 - INSTALLATION 3.1 OVERVIEW There are three separate steps that to install SANS DIGITAL TR4M completely in Microsoft Windows Environme
11 4. Fasten the tool-less screws to secure the hard drive. 5. Close the front door and the chassis cover, fasten the tool-less screws on the back
12• Power OFF: Push and hold power switch more than 3 secends to switch off the power. 3.4 INSTALLING eSATA HOST BUS ADAPTER HARDWARE Follow th
133.5 INSTALLING IN MICROSOFT WINDOWS 2000 3.5.1 Installing eSATA Host Bus Adapter Follow the instruction below for eSATA HBA Driver installation:
144. Select Specify a location, than click Next>. 5. Click Browse… to select to driver path, than click OK. 6. Click Next> to install
157. Click Yes to pass the Microsoft digital signature and continue the installation. 8. When the Silicon Image Sil3132 SoftRaid 5 Controller ins
1610. Select Search for a suitable driver for my device (recommended), than click Next>. 11. Select Specify a location, than click Next>.
1713. Click Next> to install the Silicon Image’s Pseudo Processor Device driver. 14. When the Silicon Image’s Pseudo Processor Device instal
183.5.2 Installing SATARAID5 Utility Follow the instructions below for the SATARAID5 utility: 1. Open the Manual and Utilities CD and select the SA
19 4. Select I Agree, than click Next>. 5. Select Place shortcut on Desktop, than click Next> to create a shortcut on the desktop. 6. Cl
2Table of Contents CHAPTER 1 - OVERVIEW ...
20
217. Click Next> to begin the installation. 8. When SATARAID5 installation has completed, click Close to exit. 9. Select I agree the terms i
22 10. Select Typical, than click Next>. 11. When Java platform installation has completed, click Finish to exit. 12. Select Start >
233.5.3 Disk Drive Mode Setup Disk Drive Mode setup will create the usable RAID partition to the computer. It is necessary to create the RAID befor
24 4. When Write Signature and Upgrade Disk Wizard appears, click Next>. 5. Select the new disk to write a signature, than click Next>.
25 7. When the Write Signature and Upgrade Disk Wizard has completed, click Finish. 8. 9. Right-click on the Unallocated partition and select Cr
26 11. Select the partition type you want to create, click Next>. 12. Specify the partition size you want to create, click Next>. 13.
27 14. Click Format this partition with the following settings and Perform a Quick Format, setup the File system to use, Allocation unit size, Vol
28 The status of the created partition in the Disk Management window will change to “Formatting”. The percentage complete will be displayed. Dependi
293.6 INSTALLING ON WINDOWS XP (32/64-BIT) 3.6.1 Installing eSATA Host Bus Adapter Follow the instruction below for eSATA HBA Driver installation:
33.7 INSTALLING ON WINDOWS SERVER 2003 (32/64-BIT) ...413.7.1INSTALLING ESATA HOST BUS
304. Select Search for the best driver in there location, Include this location in the search, and click Browse to select the driver path, than clic
31 3.6.2 Installing SATARAID5 Utility Follow the instructions below for the SATARAID5 utility: 1. Open the Open the Manual and Utilities CD and se
323. Select I Agree, click Next>. 4. Select Place shortcut on Desktop, click Next> to create a shortcut on the desktop. 5. Click Next>
336. Click Next> to begin the installation. 7. When SATARAID5 installation has completed, click Close to exit. 8. Select I accept the terms
34 9. Select Typical, click Next>. 10. When Java platform installation has completed, click Finish to exit. 11. Select Start > All Pro
353.6.3 Disk Drive Mode Setup Disk Drive Mode setup will create the usable RAID partition to the computer. It is necessary to create the RAID befor
36 3. When Initialize and Convert Disk Wizard appears, click Next>. 4. Select the new disk to initialize, click Next>. 5. Do not click
37 6. When the Initialize and Convert Disk Wizard has completed, click Finish. 7. Right-click on the Unallocated partition and select New Partiti
38 9. Select the partition type you want to create, click Next>. 10. Specify the partition size you want to create, click Next>. 11.
39 12. Click Format this partition with the following settings and Perform a quick format, setup the File system, Allocation unit size, Volume lab
4Chapter 1 - Overview SANS DIGITAL TR4M enhances your data storage by combining advanced RAID1 features typically seen on high-end data systems wi
40The status of the created partition in the Disk Management window will change to “Formatting”. The percentage complete will be displayed. Dependin
413.7 INSTALLING ON WINDOWS SERVER 2003 (32/64-BIT) 3.7.1 Installing eSATA Host Bus Adapter Follow the instruction below for eSATA HBA Driver inst
42 5. When the installation has completed, click Finish.
433.7.2 Installing SATARAID5 Utility Follow the instructions below for the SATARAID5 utility: 1. Open the Manual and Utilities CD and select the SA
444. Select I Agree, click Next>. 5. Select Place shortcut on Desktop, click Next> to create a shortcut on the desktop. 6. Click Next>
457. Click Next> to begin the installation. 8. When SATARAID5 installation has completed, click Close to exit. 9. Select I accept the terms
46 10. Select Typical, click Next>. 11. When Java Runtime installation has completed, click Finish to exit. 12. Select Start > All Pr
473.7.3 Disk Drive Mode Setup Disk Drive Mode setup will create the usable RAID partition to the computer. It is necessary to create the RAID befor
48 3. When Initialize and Convert Disk Wizard appears, click Next>. 4. Select the new disk to initialize, click Next>. 5. Do not click a
49 6. When the Initialize and Convert Disk Wizard has completed, click Finish. 7. Windows Server 2003 SP1 or later system supports GPT Disk which
5• Power and host status LED, and devices status and activity LED. • Metal chassis (SECC) and plastic panel frame (ABS) design. • 5.3 (W) x 7.1 (
50 9. Right-click on the “Unallocated” partition and select “New Partition…” from the pop-up menu. 10. Click Next> to create a partition on
5111. Select the partition to create, click Next>. 12. Specify the partition size you want to create, click Next>. 13. Assign the driv
52 14. Click Format this partition with the following settings and Perform a quick format, setup the File system, Allocation unit size, Volume labe
53
54Repeat the above procedure if there are any other partitions. Close the Data Management window by clicking on the small boxed “X” in the top right
55 4. Insert the disc that came with your RAID Controller, click Next. 5. When the installation has completed, click Close.
563.8.2 Installing SATARAID5 Utility Follow the instructions below for the SATARAID5 utility: 1. Open the Manual and Utilities CD and select the SA
574. Select I Agree, click Next>. 5. Select Place shortcut on Desktop, click Next> to create a shortcut on the desktop. 6. Click Next>
587. Click Next> to begin the installation. 8. When SATARAID5 installation has completed, click Close to exit. 9. Select I accept the terms
5910. Select Typical, than click Next>. 11. When Java platform installation has completed, click Finish to exit. 12. Select Start > A
6Chapter 2 - AN INTRODUCTION TO RAID 2.1 RAID VOLUMES RAID technology allows one or more disks to be combined into a logical volume which provides
603.8.3 Disk Drive Mode Setup Disk Drive Mode setup will create the usable RAID partition to the computer. It is necessary to create the RAID befor
613. When Initialize Disk Wizard appears, select Disk 1 and GPT (GUID Partition Table), and click OK. 4. Windows Vista system supports GPT disk w
62 6. Click Next> to create the partition. 7. Specify the partition size you want to create, than click Next>. 8. Assign the drive lette
63 9. Click Format this partition with the following settings and Perform a quick format, setup the File system, Allocation unit size, Volume label
64 The status of the created partition in the Disk Management window will change to “Formatting”. The percentage complete will be displayed. Dependi
65Chapter 4 - SATARAID5 ARRAY MANAGER 4.1 OVERVIEW The SATARAID5 Array Manager is the Graphical User Interfaces (GUI) which allows you to create a
66 4.2 CREATING RAID GROUPS To begin creating a new RAID Group, select “Create RAID Group” from the RAID Group menu, or right click on a controller
67 4.2.3 Striped RAID Groups Striped RAID Groups (RAID 0) allow the user to select minimum of 2 or more disks for each member of the volume. Enter
68 4.2.5 Mirrored Striped RAID Groups Mirrored Striped RAID Groups (RAID 10) allow the user to select minimum of 4 disks for each member of the
69 4.2.7 RAID Groups Options Before RAID Groups are created, the following options can be modified: FIELD DEFINITION RAID Group Label E
7 Figure 1: Dividing Disks into Members 2.3 RAID LEVELS IN DETAILS 2.3.1 Disk Striping (RAID 0) Striping is a performance-oriented, non-redundant
70might affect the computer’s overall performance. This parameter is not used for Contiguous (JBOD), Concatenated, and Striped configurations. Chec
71 RAID Level Min # of Disks 0 2 1 2 5 3 10 4 Contiguous 1 Concatenated 1 Once all parameters have been selected, select “Create” to create the RA
724.3.1 Configuration SATARAID5 configuration options include customization of the settings for Log File, Popup, and Advanced Options. This comman
73Popup Tab SATARAID5 can be configured to notify the user of events using messages in popup windows. Use the slider control to set the event level
74Advanced Options The Advanced Options tab is used to control advanced features of the RAID driver. By default, all these advanced options are disa
75 4.3.2 Exit This command terminates the SATARAID5 program. Create Spare This command displays a dialog box to let user create spare drive, user
764.3.3 Delete Spare This menu option displays a dialog box to select (highlight) one or more spare drives to delete. 4.3.4 Delete Member T
774.3.5 Delete Orphan This menu option displays a dialog box to select (highlight) orphan segments to delete. An orphan segment is part of a RAID g
78 Fields This command displays a dialog box to let user choose which fields will be shown in the Segment Summary window. 4.3.8 Create RAID G
79 4.3.9 Rebuild RAId Group This command displays a dialog box to let user choose a replacement segment to rebuild a non-fault tolerant RAID group
8 The data is written to RAID Group A, which is mirrored (RAID 1) and provides data redundancy. Alternating blocks of data are then striped across
804.3.10 Delete RAID Group This command displays a dialog box to let user choose RAID groups to delete. 4.3.11 Bring RAID Group Online This men
81Fields This command displays a dialog box to let user choose which fields will be shown in the RAID Group Summary window. 4.3.13 Task Manager T
82Sorting This command displays a dialog box to let user choose up to 3 items to sort task items in the task list. Fields This command displays a
83 Delete This command displays a dialog box to let user delete the selected task items from the task list in Task Summary window. The following
84Sorting This command displays a dialog box to let user choose up to 3 items to sort event items in the event log. Fields This command displays
85The Event Log window has it’s own menu bar. All options available via the menu bar are shown below File Display Exit Suspend Alt+S Resume
92.4 RAID VOLUME STATUS A RAID volume can be in any one of the following statuses. STATUS MEANING Good All disks are currently functioning as no
© 2020, manymanuals.com. All rights reserved. | 2.294 s |
 Manymanuals.com
 Manymanuals.de
 Manymanuals.fr
 Manymanuals.it
 Manymanuals.pl
 Manymanuals.cz
 Manymanuals.es
 Manymanuals-pt.com
Comments to this Manuals